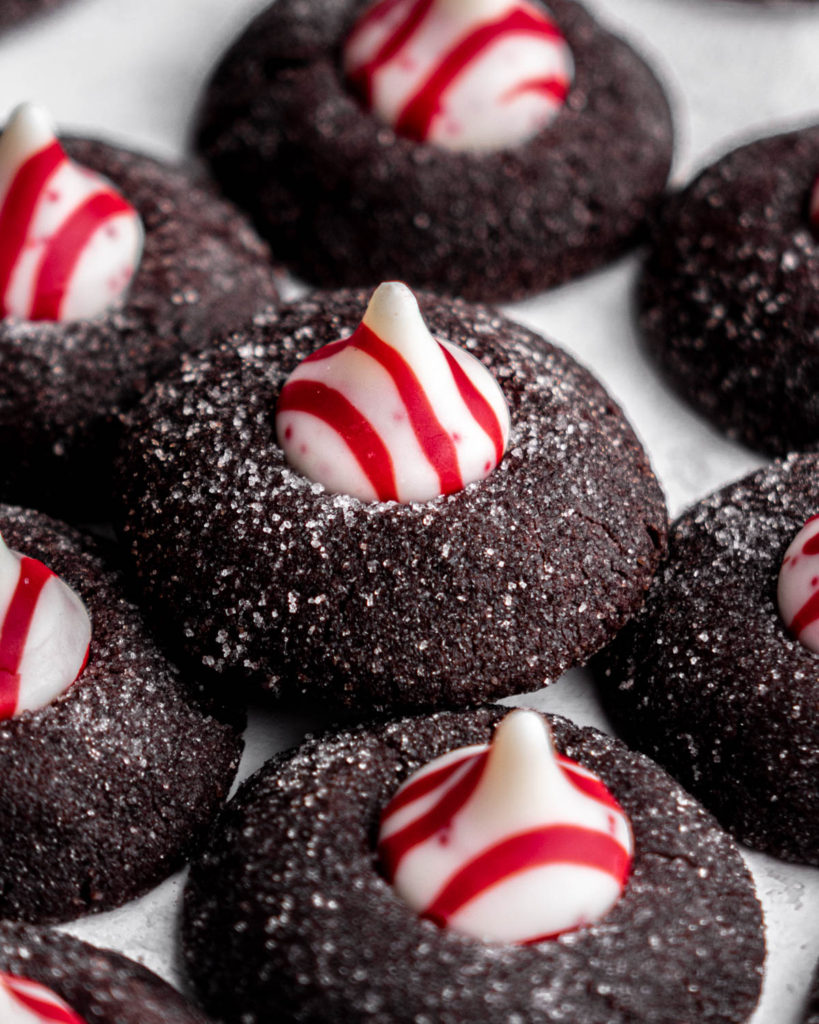
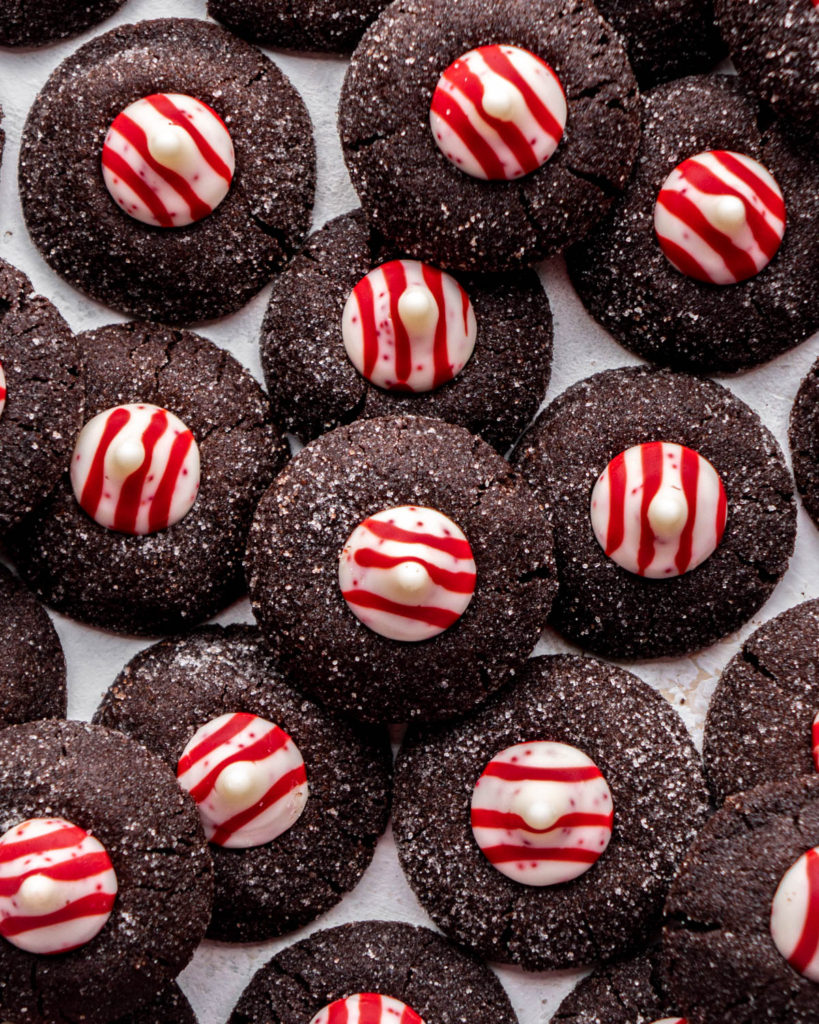
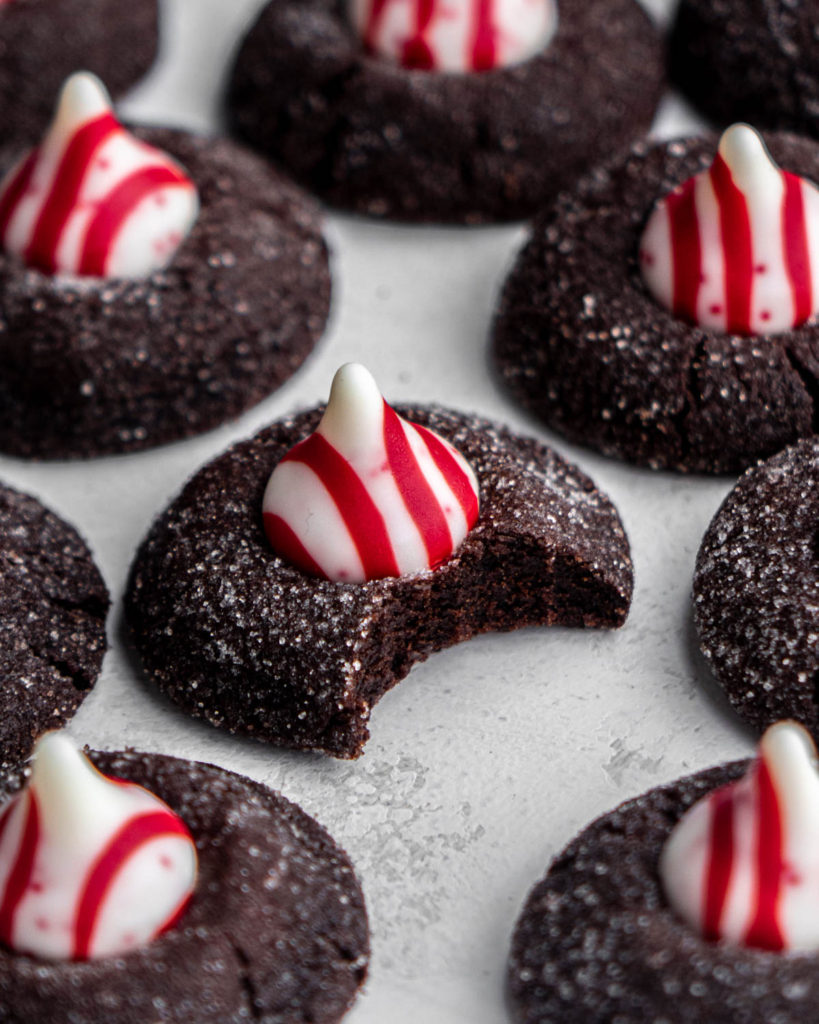
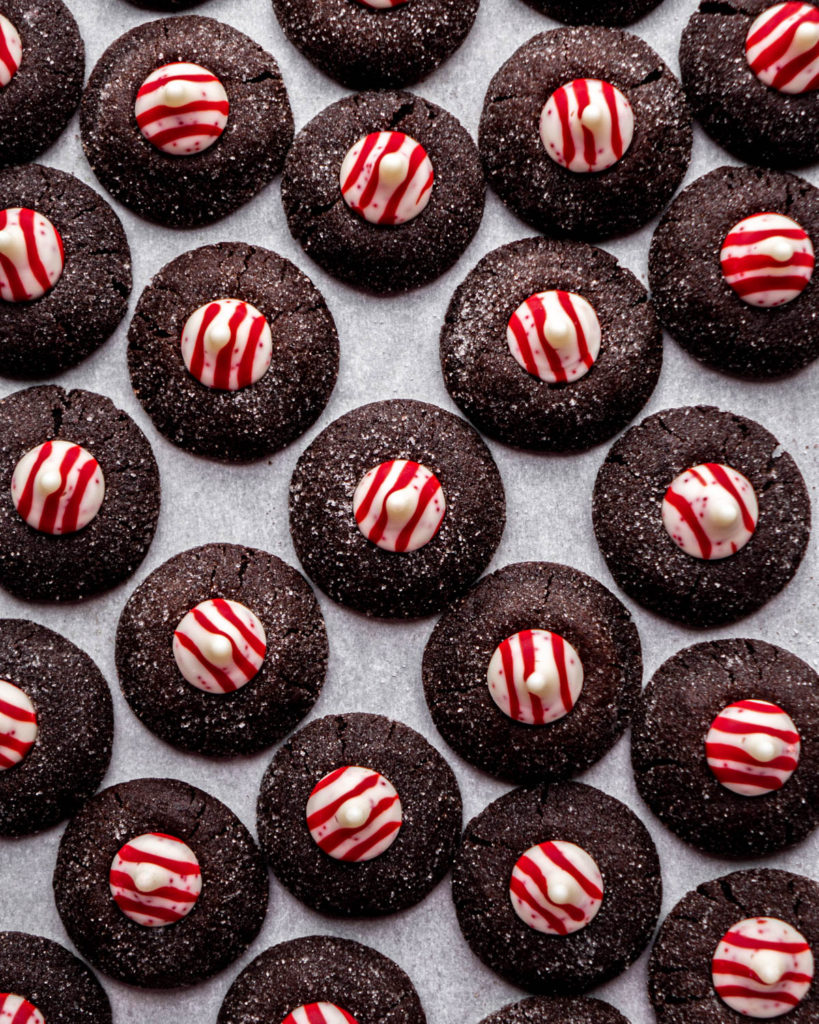
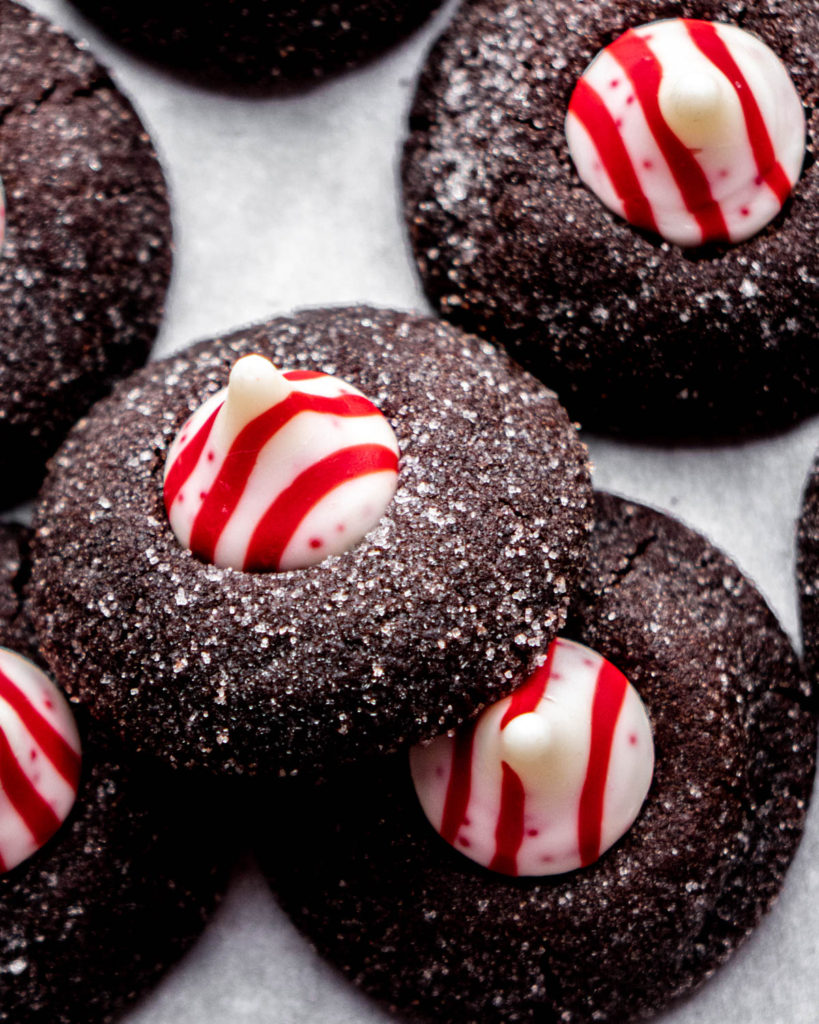
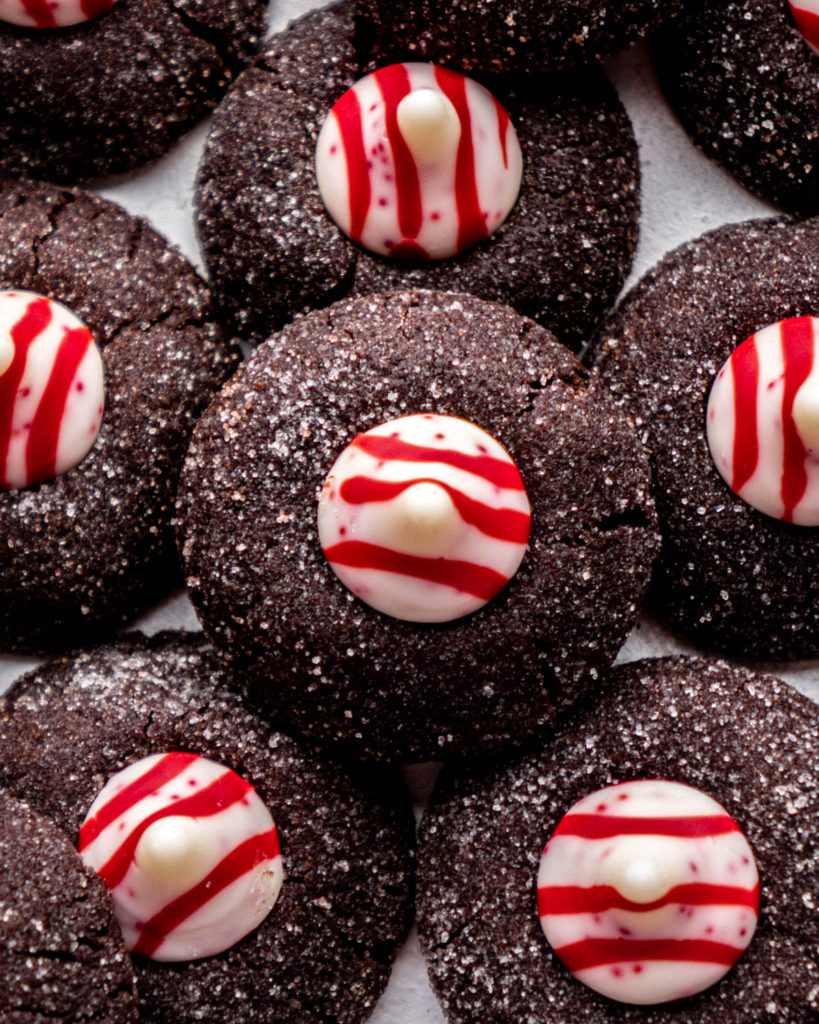
Chocolate Peppermint Blossoms
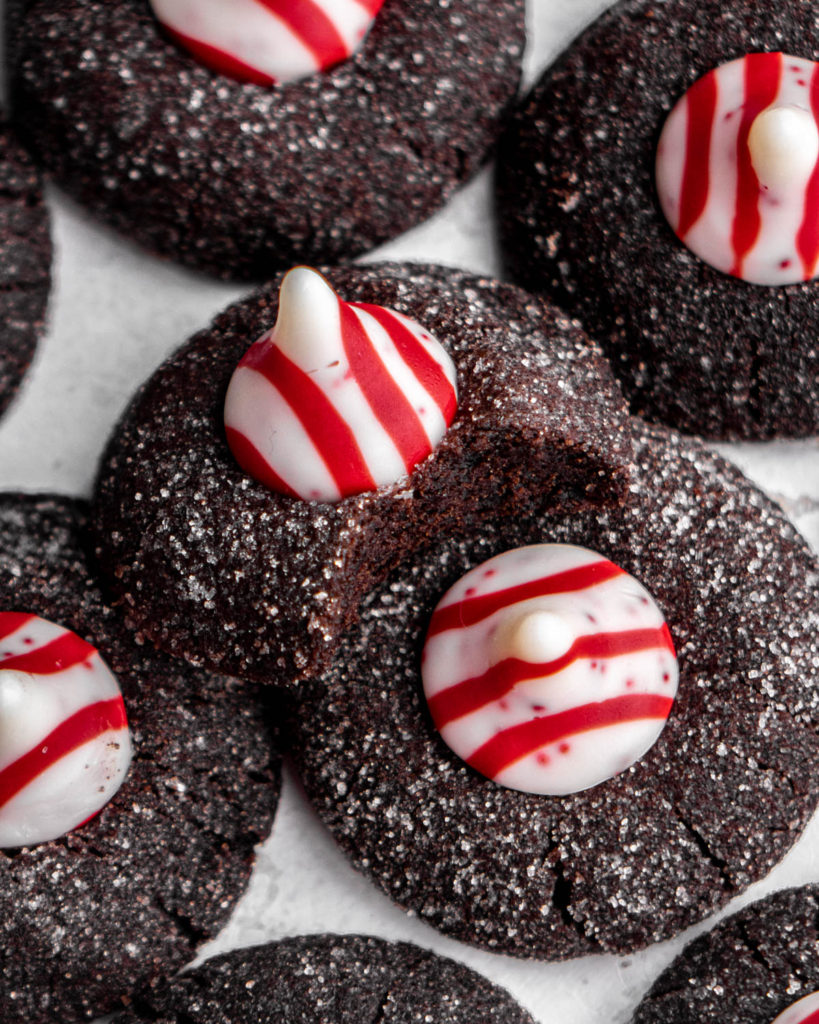
Fudgy and chewy dark chocolate cookies with white chocolate peppermint Hershey Kiss centers!
These are part of this year’s 12 Days of Christmas Cookies! Yay!
If you’re looking for other Christmas cookie recipes check out my double chocolate peppermint cookies, chocolate dipped peppermint sugar cookies, spritz cookies, chocolate thumbprint cookies or Christmas kitchen sink cookies!
Why You’ll Love These Chocolate Peppermint Blossoms
They’re super easy to make.
They’re super chewy.
They’re the best Christmas flavor: chocolate peppermint!
Ingredients for Chocolate Peppermint Blossoms
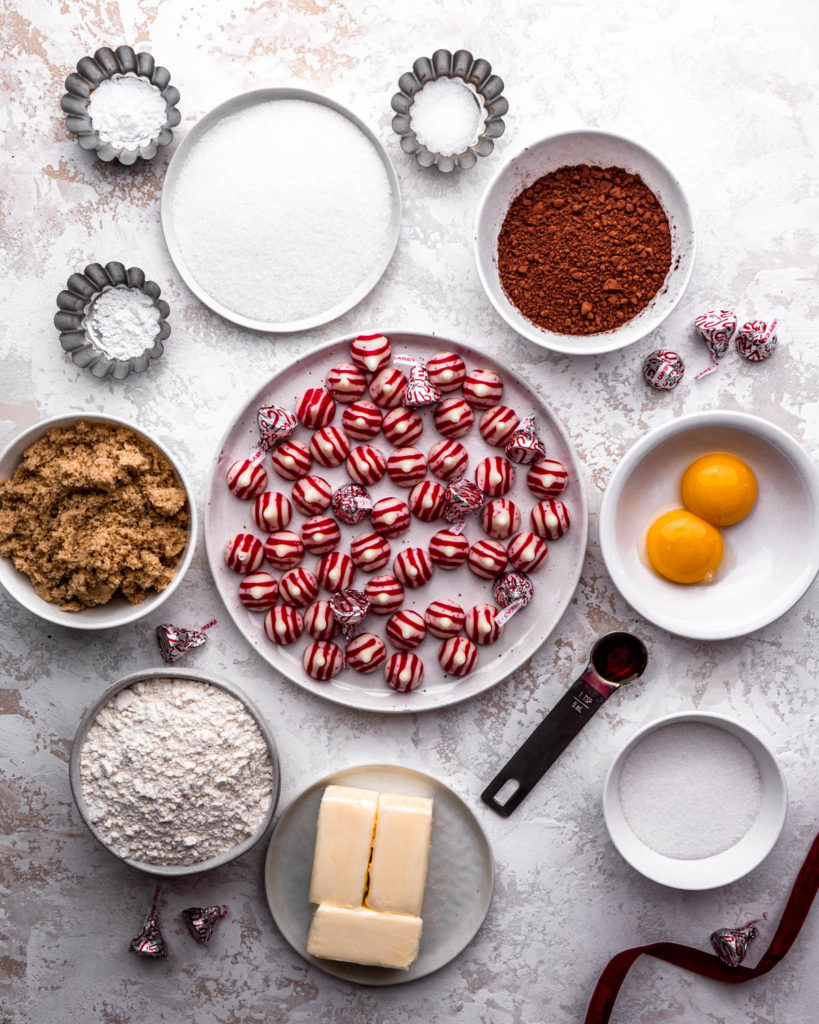
- Flour- all-purpose flour is used for the best “chew”
- Cocoa Powder- I recommend using Dutch process for a richer chocolate flavor
- Salt- helps bring out all the flavors in these cookies
- Baking Powder & Baking Soda- help the cookies to rise slightly
- Butter- make sure it’s softened
- Brown Sugar- mostly brown sugar is used for chewier cookies
- Granulated White Sugar- used along side the brown sugar to sweeten these cookies
- Egg Yolks- make sure they’re room temperature
- Vanilla- as always I recommend vanilla bean paste for the best flavor, but extract will work as well
- Candy Cane Kisses– these are the white and red striped peppermint kisses available at Christmas time, you can also use regular kisses if you’re not a fan of the candy cane ones
Step by Step Instructions
Please see recipe below for complete measurements and baking time!
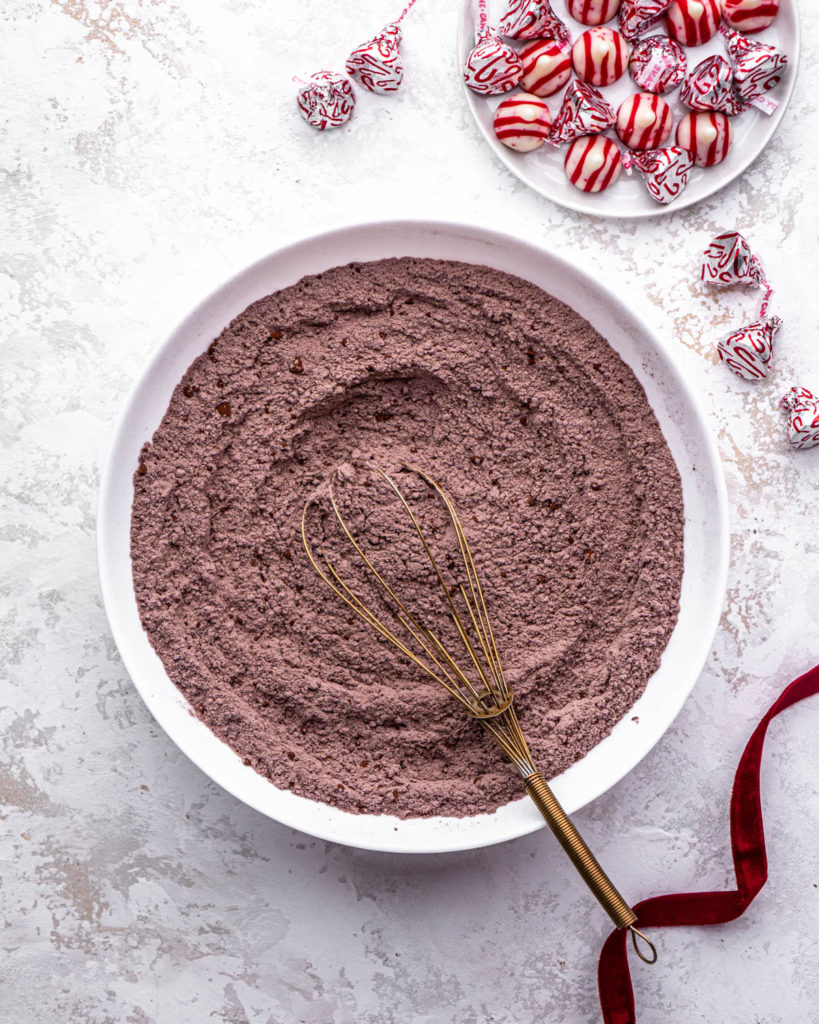
STEP ONE: Whisk flour, cocoa powder, salt, baking powder and baking soda together.
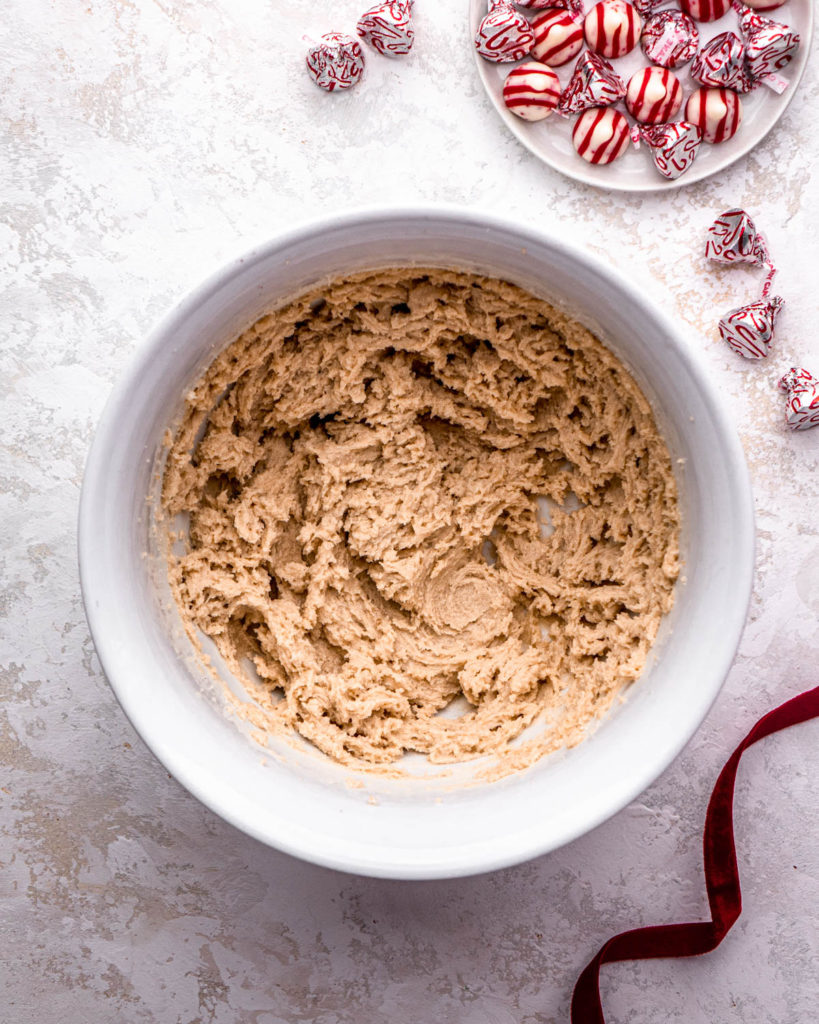
STEP TWO: Cream butter, brown sugar, and granulated white sugar together.
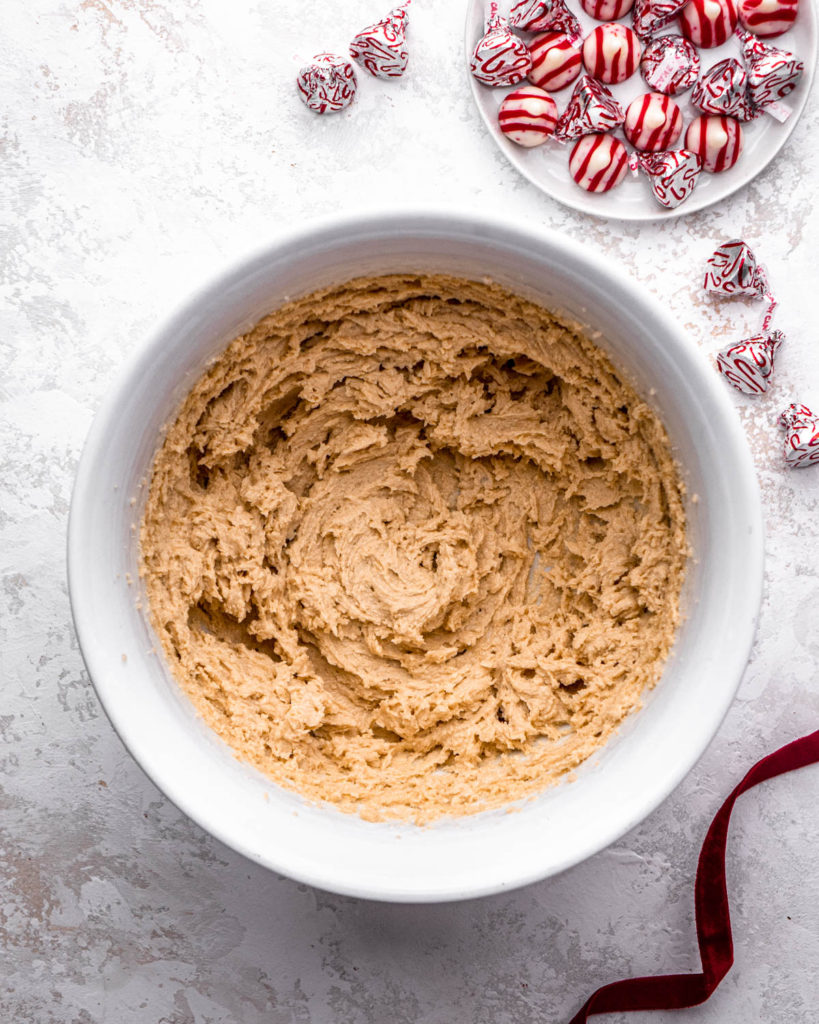
STEP THREE: Add in egg yolk and vanilla and mix until fluffy.
STEP FOUR: Add in the dry ingredients and mix until combined.
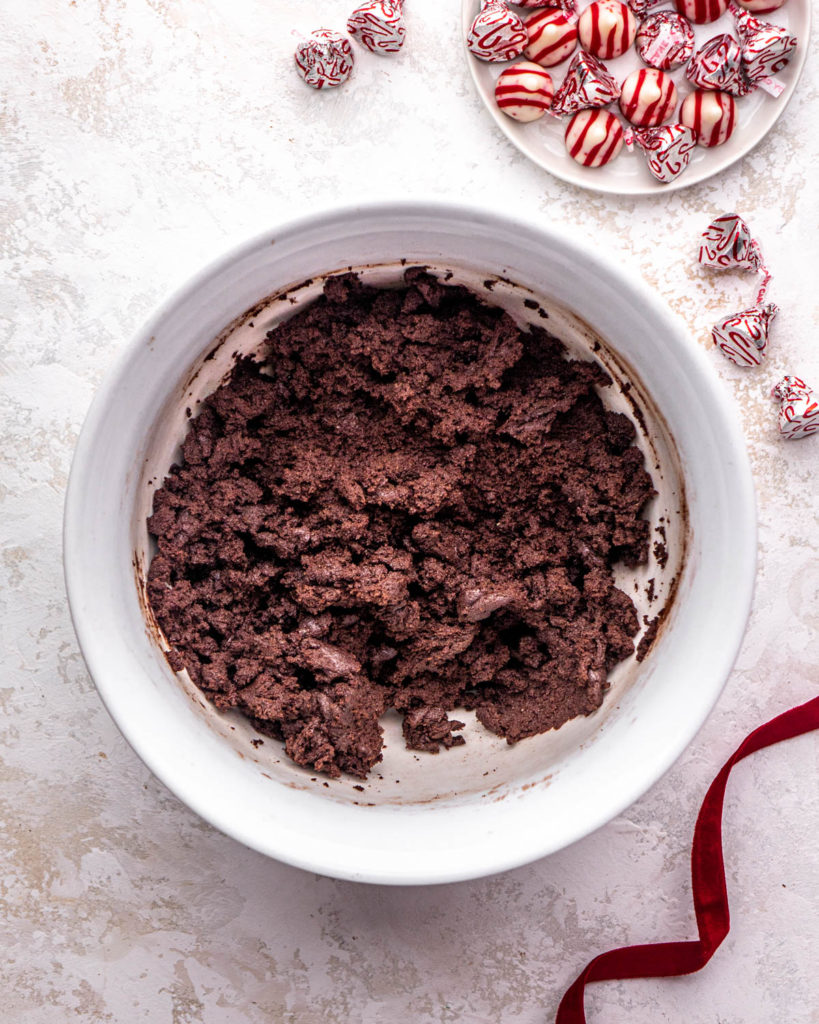
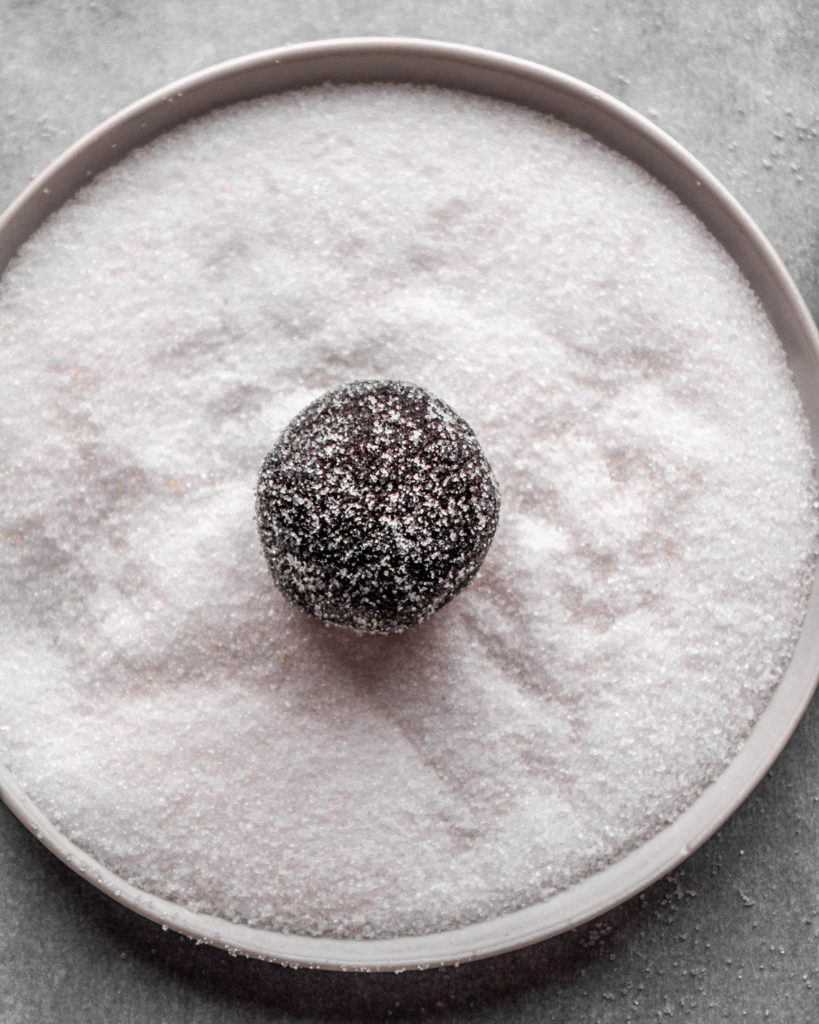
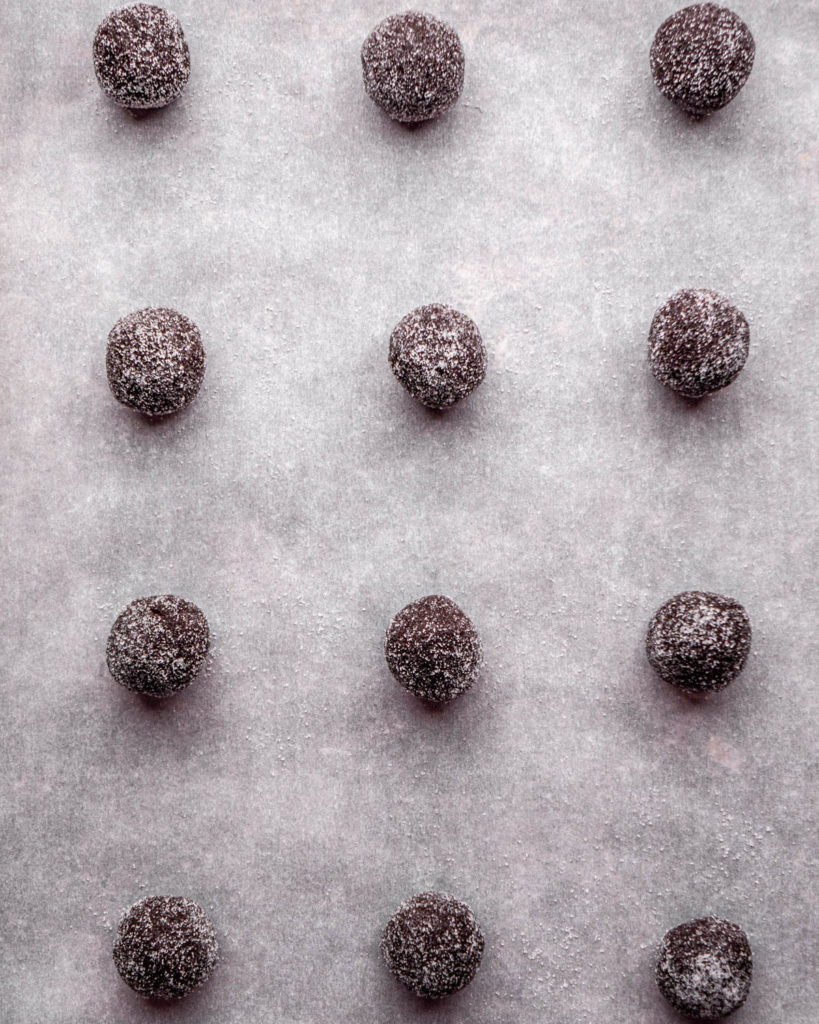
STEP FIVE: Scoop the dough and roll into balls. Roll each dough ball in sugar and arrange on parchment paper lined baking sheets. Then bake the cookies.
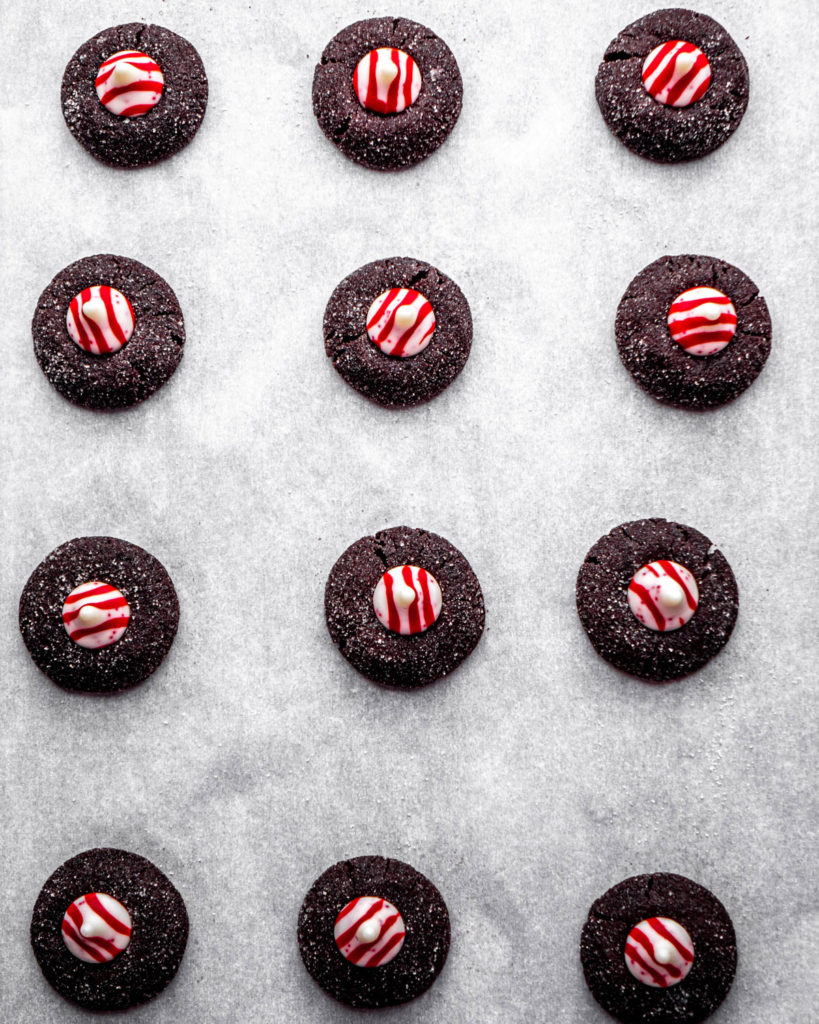
STEP SIX: As soon as the cookies are done baking, press a frozen peppermint Kiss into the center of each. Let the cookies cool completely on the baking sheets before moving them. This ensures that the Kisses won’t lose their shape.
Please see recipe below for complete measurements and baking time!

FAQs
How do I store the cookies? Keep the cookies in an airtight container for up to three days, or freeze for up to two weeks.
Do I have to use peppermint kisses? No you can use regular milk chocolate Kisses if you would rather! They also have dark chocolate, sugar cookie or cookies n creme Kisses that would be really good too!
Pro Tips
Measure your flour properly. This is always my #1 baking tip. Do not ever scoop a measuring cup into your flour. This will always lead to using too much flour. (Trust me, I’ve learned the hard way that I need to measure properly!) Instead, sprinkle spoonfuls of flour into your measuring cup and swipe excess flour off with the back of a knife. Or better yet, weigh your flour. 1 cup of flour equals 125 grams.
Freeze your peppermint Kisses. This will help them to keep their shape the best. I tested this recipe with unfrozen Kisses and they ended up melting completely.
If you make these cookies please leave a review, it’s so helpful for me! Tag me on Instagram @inbloombakery_ so I can see as well! Follow me on Pinterest for other dessert ideas!
Other Recipes to Try

Chocolate Peppermint Blossoms
Ingredients
- 1 1/2 cups (188 g) all-purpose flour spooned and leveled, see notes
- 1/2 cup (40 g) cocoa powder, Dutch process
- 1/2 tsp baking powder
- 1/2 tsp baking soda
- 1/2 tsp salt
- 3/4 cup (168 g) unsalted butter, softened
- 3/4 cup (165 g) light brown sugar, packed
- 1/4 cup (50 g) granulated sugar
- 2 egg yolks, at room temperature
- 1 tsp vanilla
- 34 Candy Cane Hershey Kisses, frozen
- 1/4 cup (50 g) granulated sugar for rolling the dough
Instructions
- Unwrap 34 Candy Cane Hershey Kisses and place them in the freezer for 30 minutes.34 Candy Cane Hershey Kisses, frozen
- Preheat oven to 350 degrees and line three baking sheets with parchment paper. Set aside.
- To a medium sized bowl add the flour, cocoa powder, baking powder, baking soda and salt. Whisk to combine. Set aside.1 1/2 cups (188 g) all-purpose flour, 1/2 cup (40 g) cocoa powder, Dutch process, 1/2 tsp baking powder, 1/2 tsp baking soda, 1/2 tsp salt
- To a large bowl add the butter, brown sugar and granualted white sugar. Cream together with an electric mixer for 1-2 minutes.3/4 cup (168 g) unsalted butter, softened, 3/4 cup (165 g) light brown sugar, packed, 1/4 cup (50 g) granulated sugar
- Add in the egg yolks and vanilla and mix until pale in color and fluffy, 1-2 minutes.2 egg yolks, at room temperature, 1 tsp vanilla
- Add in the dry ingredients and mix until combined.
- Scoop the dough into 34 portions, using a 1 tbsp scoop, and roll into balls.
- Roll each dough ball in granulated sugar and then arrange on the baking sheets about 2 inches apart. (I did 12 cookies on the first two baking sheets and 10 on the third.)1/4 cup (50 g) granulated sugar
- Bake the cookies for 7-8 minutes. (7 for chewier cookies.)
- As soon as the cookies are done baking, press a frozen Candy Cane Kiss into the center of each cookie.
- Let the cookies cool completely on the baking sheets until the Kiss is set. I found that this was the best way to keep the Kiss from losing its shape.
- Once cooled, serve the cookies!
- Store left overs in an airtight container for up to three days.

Very yummy!
They are so cute and delicious! I made these for my friends and they loved them.
These turned out perfectly and are sturdy enough for a cookie box!
I’m so happy to hear that!!
Love how you added ingredient measurements in your directions!! Turned out great! Made 1 1/2 batches and made 34 cookies.
These were absolutely delicious! Soft and chewy and perfect. And I really appreciate that you included the measurements in weight too, makes it super quick to throw together and an easier clean up. Will be making these again!
Can you use regular cocoa powder if you don’t have Dutch processed at home?
No, not when the recipe calls for baking soda or powder. dutch process is neutral while regular is acidic. It just doesn’t work. 🙂 Hope this helps!
I will be making this recipe today and confident it will be delicious. However, I must relate that your webpage/blog takes forever to load because it is so heavy with ads and pop-ups. Very distracting. Almost left your site to find another recipe due to the time delay.
Good taste, cookies fell apart. Not enough binding agent in the recipe to hold them together. Batter was dry and I knew it was off but tried it anyway. Baking dried out the batter further and when you went to make the blossom there wasn’t enough binding in the dough and it just crumbled. Better recipes out there. Save yourself the headache during holiday baking.
Can you freeze the dough in balls to defrost and bake later?
I would also like to know if you can freeze these?
You can freeze the cookies for up to two weeks without the Hershey kiss. Once you bake the cookies you can press the kisses into them!
These were easy to make and are delicious! I made them twice: once as written and a second batch with gluten free flour, using King Arthur’s Measure for Measure flour. They both came out great! I didn’t make any changes for the gluten free batch. They were slightly drier, but worked fine.
Cookies turned out okay. Followed the recipe but it didn’t make close to the yield in the recipe (less than two dozen).
Cookies were way too dense. Making these for a Christmas party and now have to take extra time to find another recipe to redo them.
And note – it’s very counterintuitive to complete baking to leave cookies on the sheet. Traditionally, you take them off ASAP to stop them cooking, but these ones were still raw after 8 minutes so I guess they needed the extra time.
Excellent flavor and texture! Easy to make!
Great recipe! Made these last minute to fill out my cookie boxes and they were super quick and easy and taste wonderful
Wow—these were fabulous! I only got 24 cookies out of the dough and wouldnt want to make them any smaller. However, that was the perfect number for me anyway.
I’d honestly love to make these on their own and call it a hot cocoa cookie—the peppermint kiss overpowers what is a really solid chocolate cookie recipe
Thank you for sharing! I’m so happy you like them!
These came out PERFECT! And freezing the kisses was a great tip! Soft, chocolate peppermint deliciousness. Adding this recipe to my favorites!
Yummy! So happy you loved it. Happy baking!
These are very good. I did not get the same amount of cookies, as stated though. Only 26. But very tasty and festive.
Thanks so much for sharing! I am happy you loved these!
Wanted to let you know that i’m legally obligated to put this cookie in my annual christmas cookie box on the pain of death per my little sister. that’s how good these are lol.
Yay! So happy! Til death do you part!