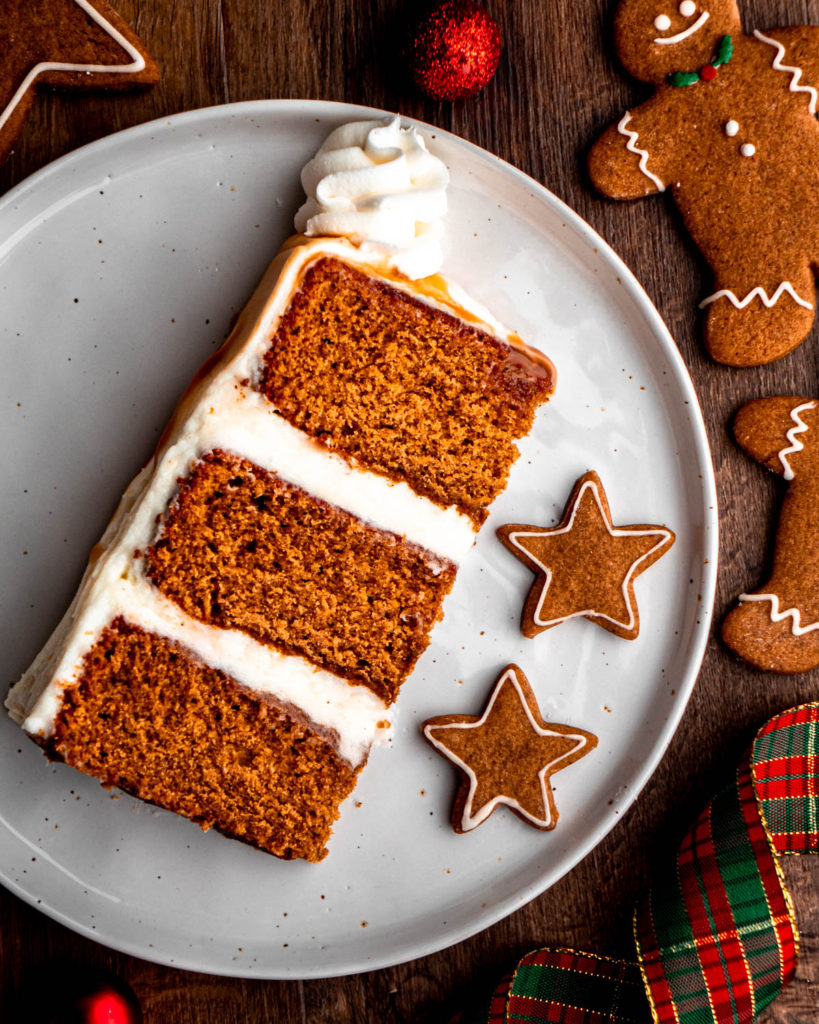
Gingerbread Layer Cake

Soft and fluffy gingerbread layer cake full of warm Christmas spices, frosted with smooth white chocolate cream cheese frosting and finished with a caramel drip.
If you’re looking for other Christmas recipes, check out my chewy gingerbread cookies, gingerbread whoopie pies, eggnog cupcakes, white chocolate peppermint cupcakes, hot cocoa cupcakes or my 12 Days of Christmas Cookies!
Why You’ll Love This Gingerbread Layer Cake
It’s full of warm Christmas spices. Ginger, cinnamon, nutmeg, cloves and allspice give this cake the absolute best flavor.
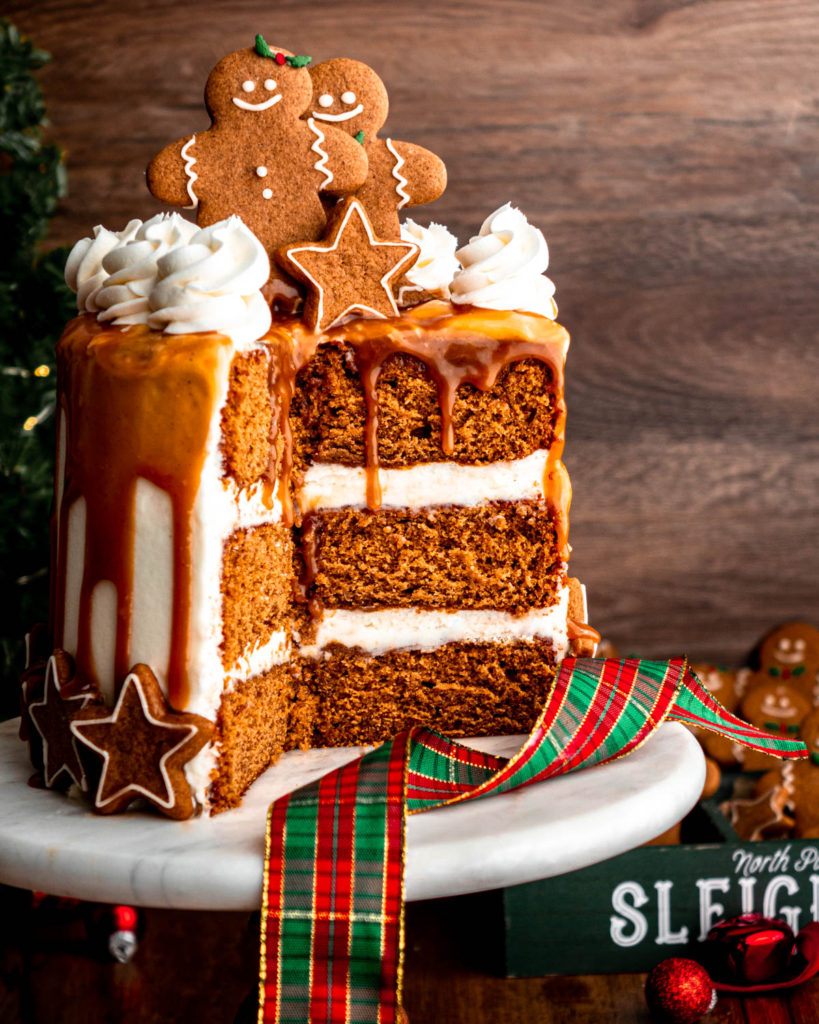
It’s frosted with the best frosting. I combined my two favorite frostings for this cake: cream cheese frosting and white chocolate buttercream. The result is a smooth and creamy frosting that pairs just perfectly with the warm spices and molasses in this cake.
It’s got the best texture. The cake is moist and fluffy, and paired with the white chocolate cream cheese frosting, it just completely melts on your mouth.
It’s covered in salted caramel sauce. As if this cake wasn’t delicious enough, it’s topped with homemade salted caramel sauce which we all know just makes any dessert even better!
Ingredients for Gingerbread Layer Cake

- Flour– all purpose flour is used for the best “crumb”
- Sugar– granulated and brown sugar are used in the cake batter, and powdered sugar is used for the frosting
- Butter– make sure it is unsalted and softened
- Buttermilk– helps to keep the cake moist, make sure it’s room temperature
- Eggs– make sure they’re room temperature
- Molasses– make sure it’s unsulphured and not blackstrap, gives this cake that classic gingerbread flavor
- Ground Spices– ginger, cinnamon, allspice, cloves and nutmeg bring warm Christmas flavor to this cake
- Vanilla– I recommend vanilla bean paste for the best flavor but extract works as well
- Baking Powder & Baking Soda– helps to leaven the cake and give it its fluffy texture
- Salt– brings out all the flavors in the cake
- Heavy Cream– used in the salted caramel sauce
- White Chocolate– for the frosting, I recommend high quality white chocolate for the best flavor, Lindt is my favorite!
- Cream Cheese– for the frosting, make sure it’s cold
Step by Step Instructions
Please see the recipe card below for the complete recipe, which includes measurements, method and baking time.
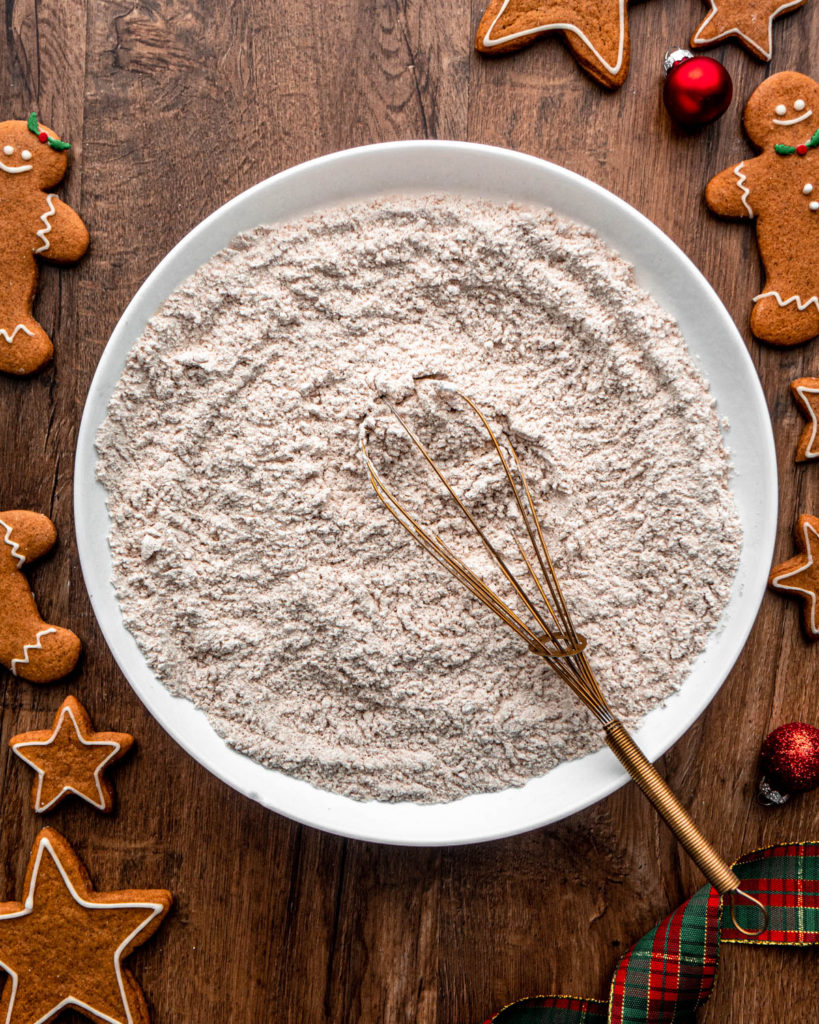
STEP ONE: Whisk together flour, ginger, cinnamon, nutmeg, allspice, cloves, baking powder, baking soda and salt.
STEP TWO: Cream butter, brown sugar and granulated white sugar together.

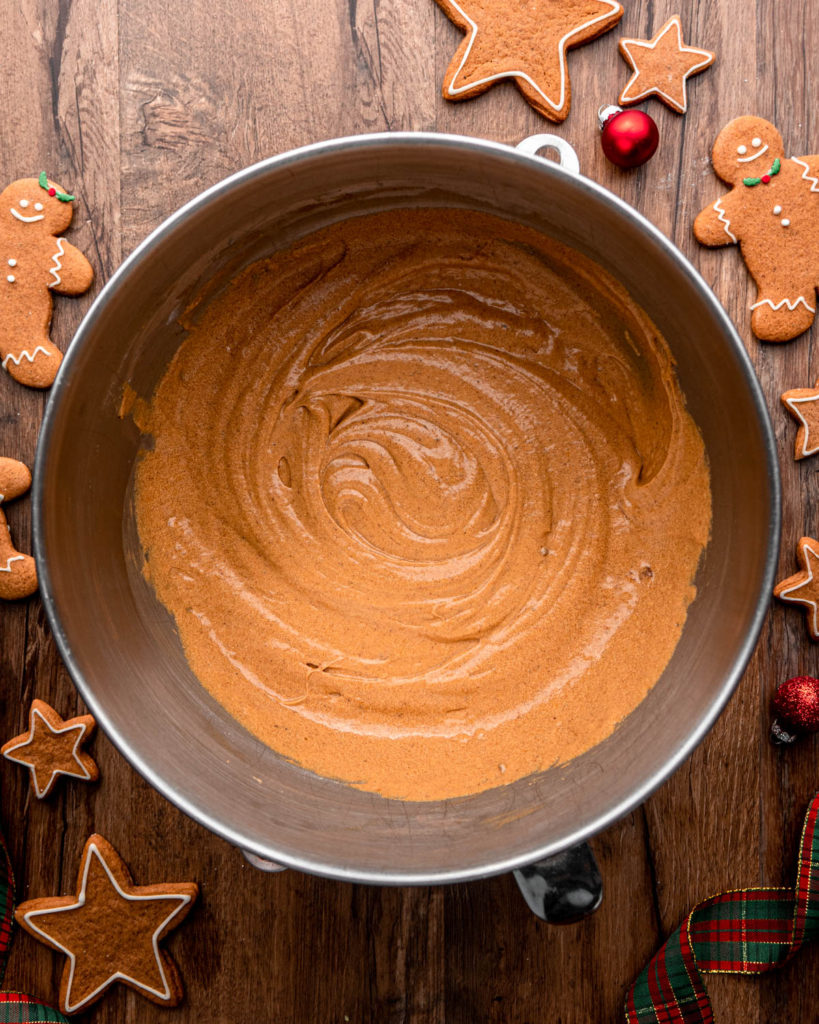
STEP THREE: Then add in eggs, vanilla and molasses and mix until smooth.
STEP FOUR: Add in the dry ingredients add the buttermilk a little at a time until all is combine.

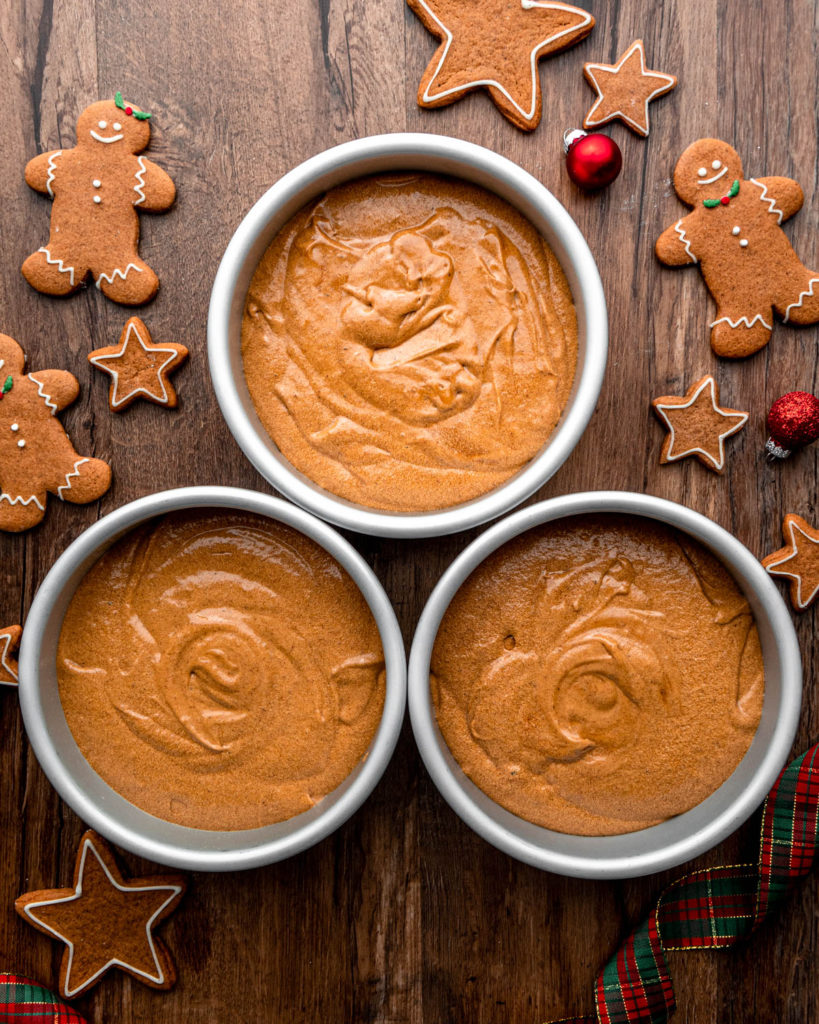
STEP FIVE: Evenly divide the batter between 3 6″ cake pans. Bake and then let cool.

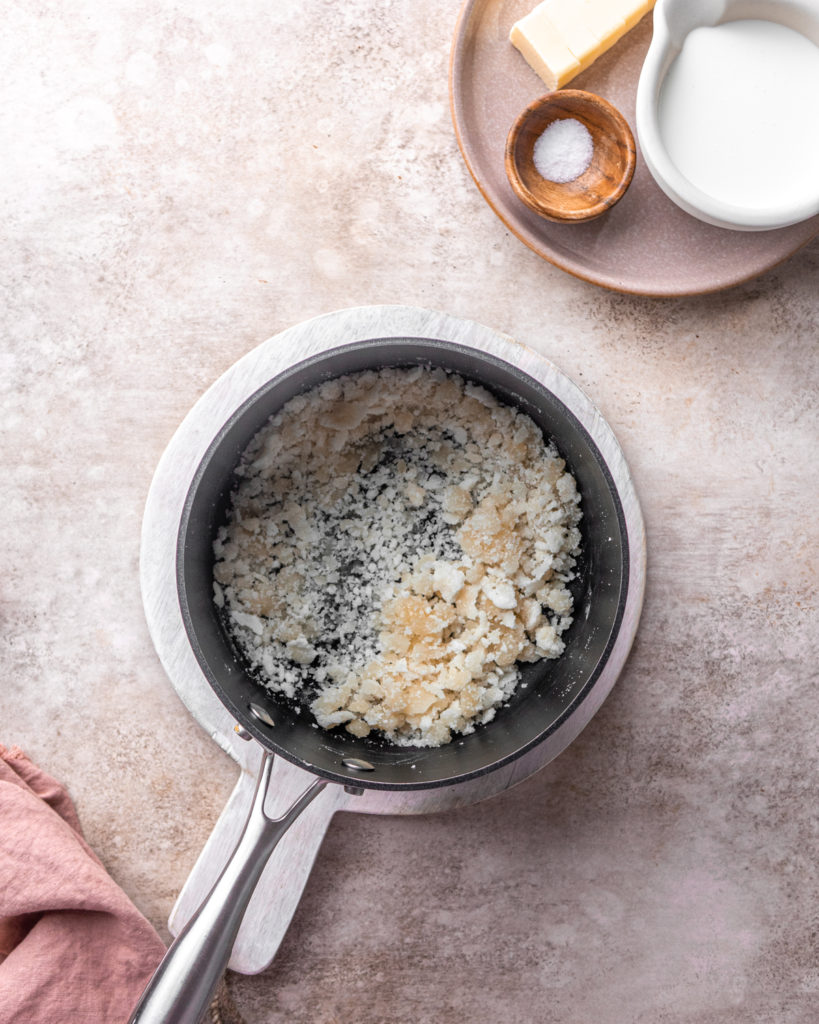
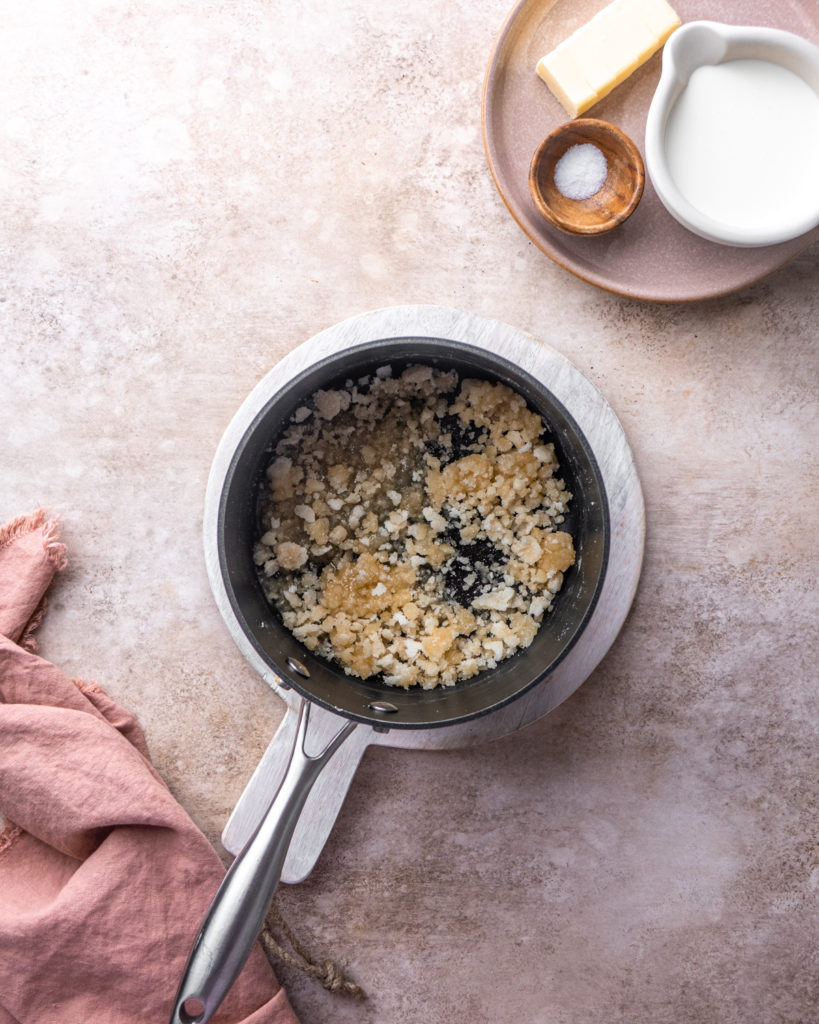
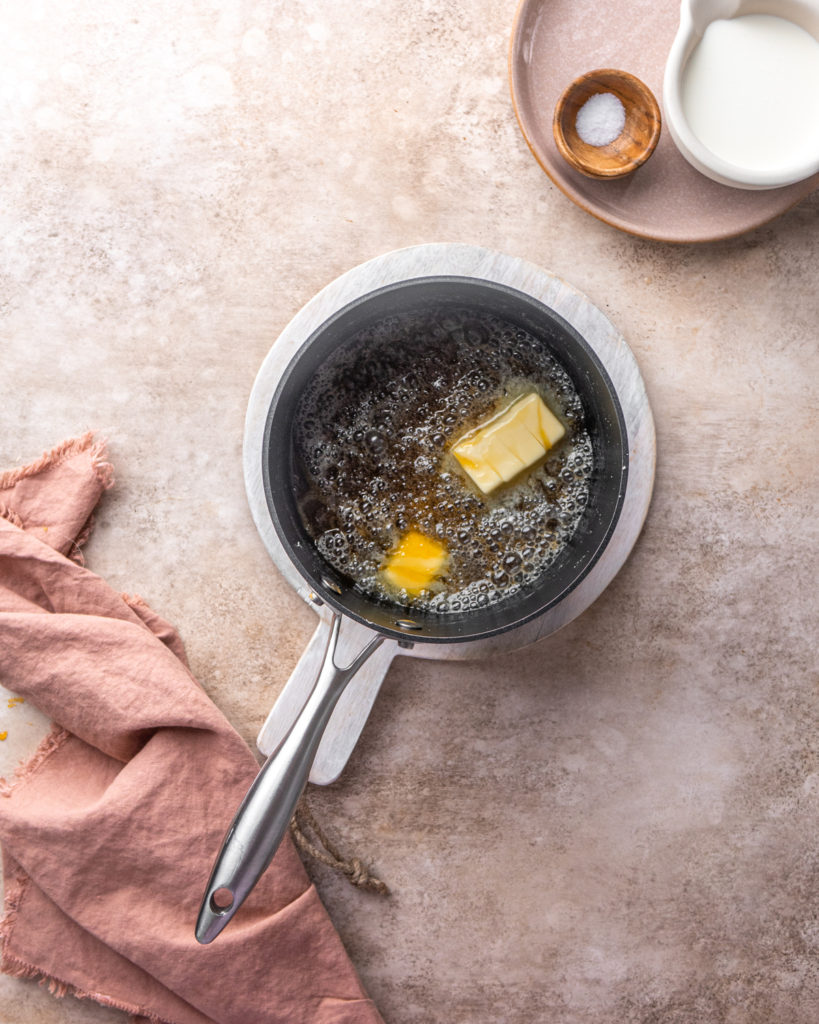
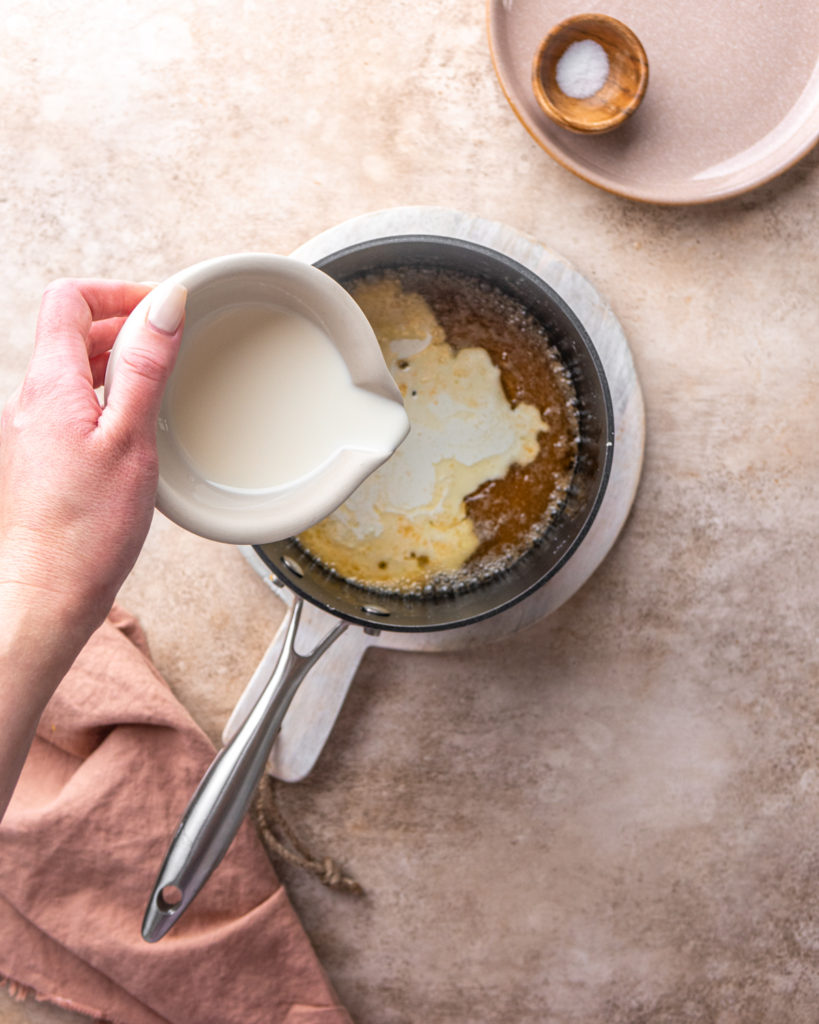
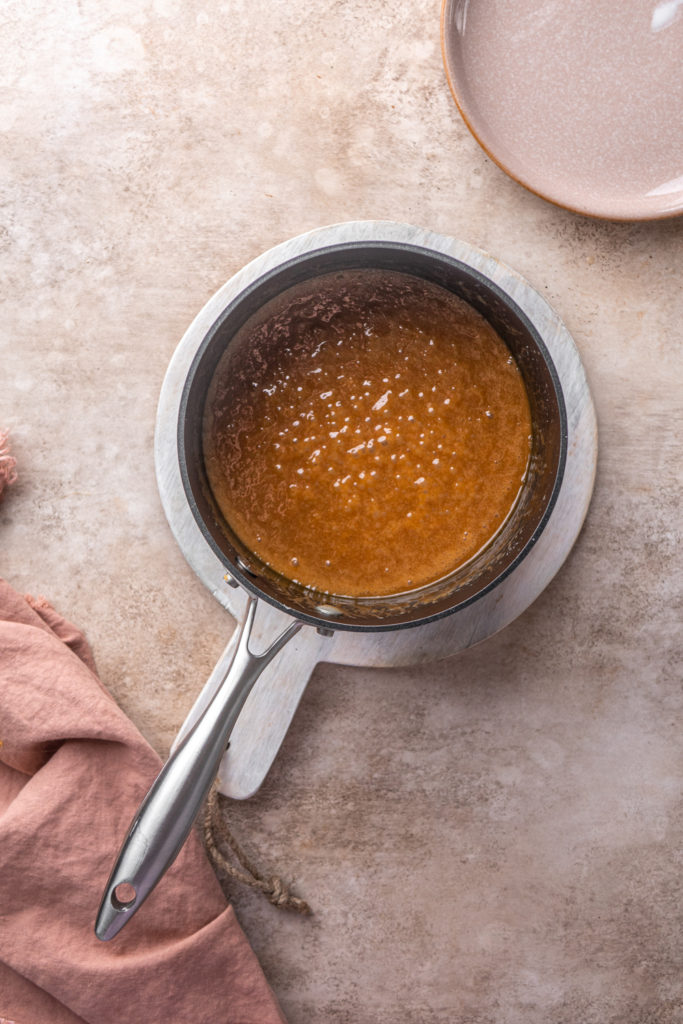
STEP 6: Make the salted caramel sauce. Melt sugar, add in butter and cream. Mix in vanilla and salt. Let cool completely. (See this blog post for in depth instructions.)

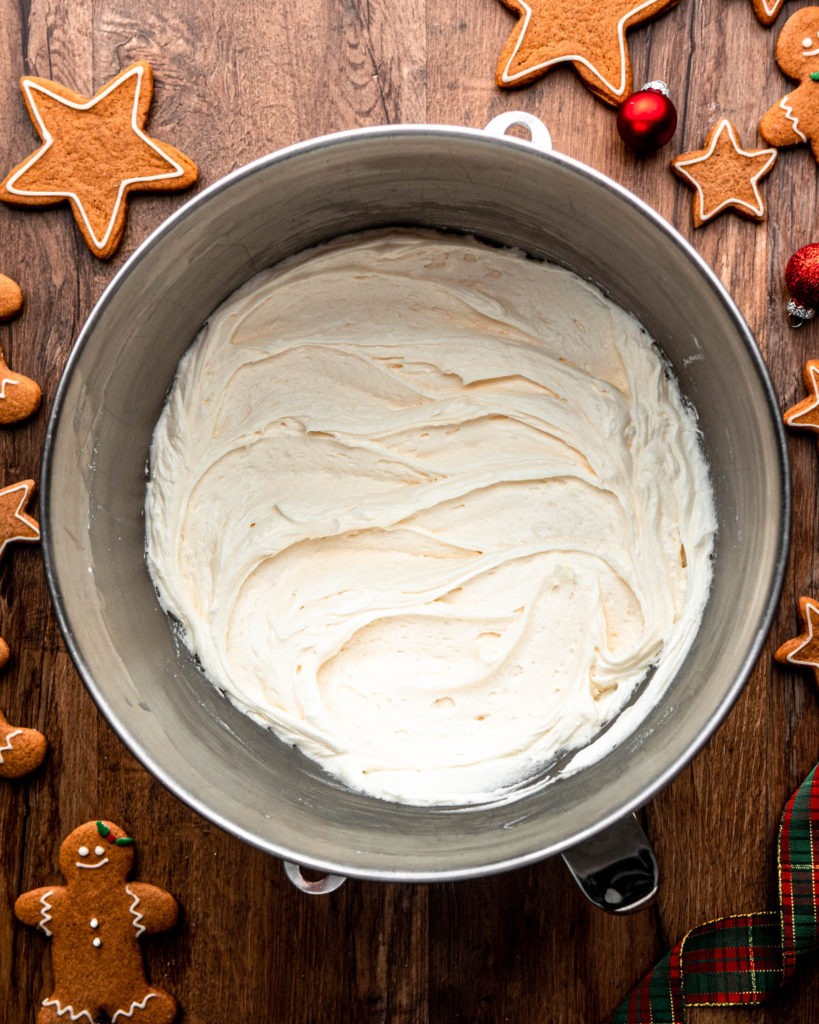
STEP 7: Make the frosting by whipping the butter then adding in the cream cheese and melted white chocolate. Then add in the powdered sugar a little at a time. See “Pro Tips” for trouble shooting the frosting.
STEP 8: Once the cakes are completely cooled assemble the cake. You can simply fill each layer with white chocolate buttercream, ice the outside with the white chocolate buttercream, pour the caramel over the top and then decorate it how you see fit. However, if you are looking to make a really beautiful cake, follow the extra steps below.
For these steps you will need:
- a cake scrapper
- a rotating cake turntable
- an offset spatula
- a sharp knife
- an icing piping bag fitted with a small circular tip
- an icing piping bag fitted with a large star tip
- an icing bag with a large opening or fitted with a large circular tip
Getting Perfectly Sized Cake Layers
The cakes should not dome very much while baking, but if they do and cannot be easily evenly stacked, simply cut the top part off of each cake with a sharp knife. Freezing the layers for 30 minutes-1 hour each before attempting to cut the domes off, helps to get cleaner cuts. (Wrap each layer tightly in plastic wrap before freezing to keep them fresh.)
Filling the Cake Layers
See “Pro Tips” on trouble shooting frosting while assembling the cake.
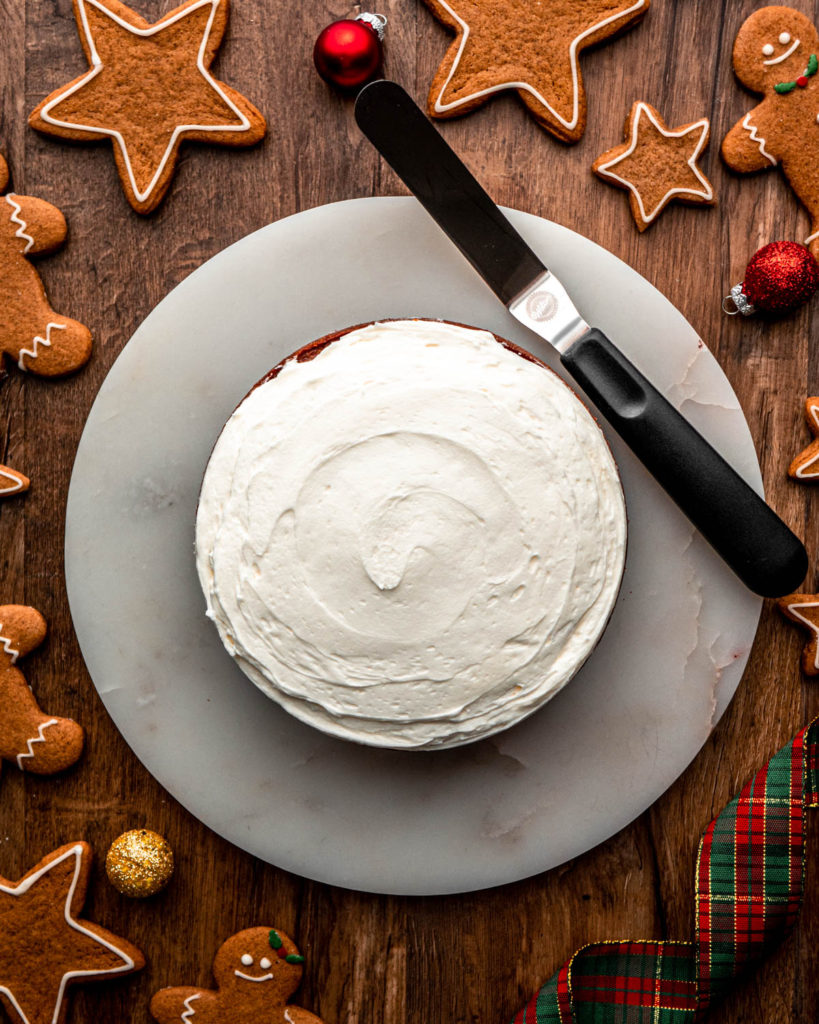
Place a dollop of white chocolate cream cheese frosting in the center of your cake turntable. Place the first cake layer over it. Then add a generous amount of frosting on top of the cake layer and even it out with your offset spatula, turning the cake turntable as you go. Place the next layer over top and repeat the step. Then place the final layer over the top. Add some the frosting to a piping bag with a large opening, or fitted with a large circular tip. Pipe frosting into the “holes” between each cake layer. Then with your cake scraper, scrape the icing across the cake, turning the cake turntable as you go to make this as easy as possible. This is meant to just get everything even before applying the crumb layer. At this point consider inserting plastic drinking straws into the cake to keep it from leaning in a certain direction. Pop the cake in the fridge for 20-30 minutes to allow the inside frosting layers to firm up a bit. (This will make applying the crumb layer easier.)
Creating the Crumb Layer
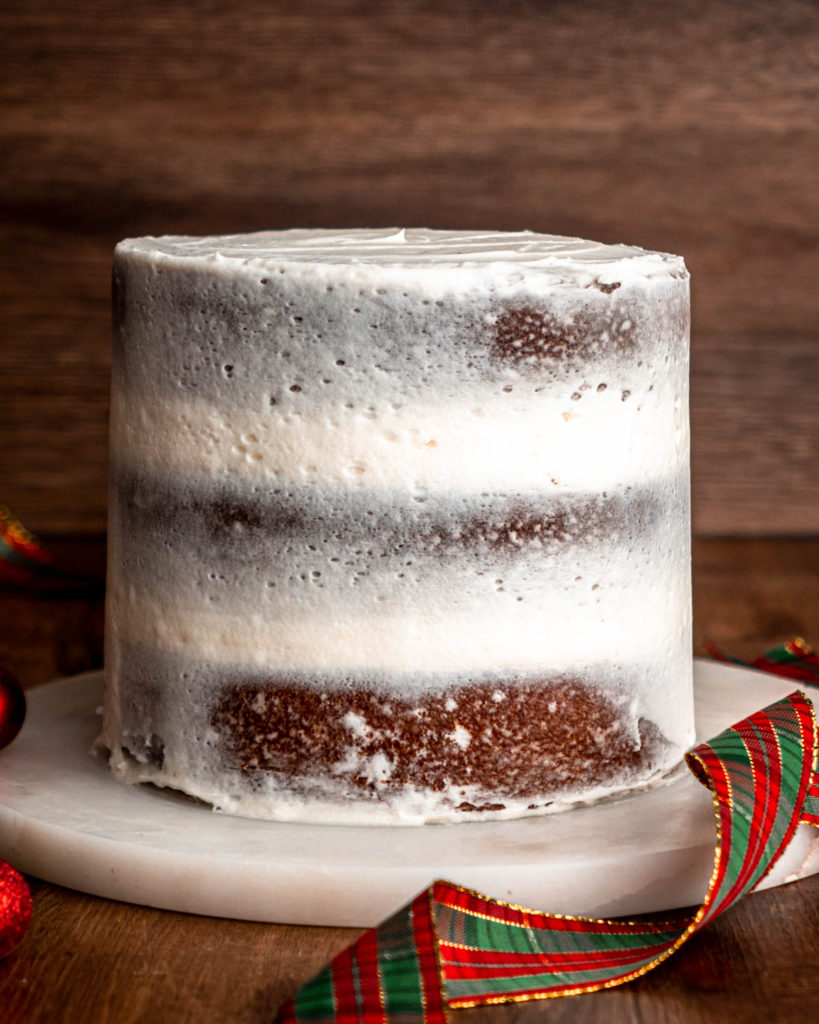
With your offset spatula place dollops of frosting on the outsides and top of the cake. Even out the frosting as much as possible with your spatula. Then with your cake scraper, scrape the icing evenly across the cake, turning the cake turntable as you go to make this as easy as possible. This layer of frosting should be thin. This is called the ‘crumb layer’ and will ensure that the cake’s final coating of frosting is smooth and free of crumbs. Then place the cake in the fridge to chill for 20-30 minutes.
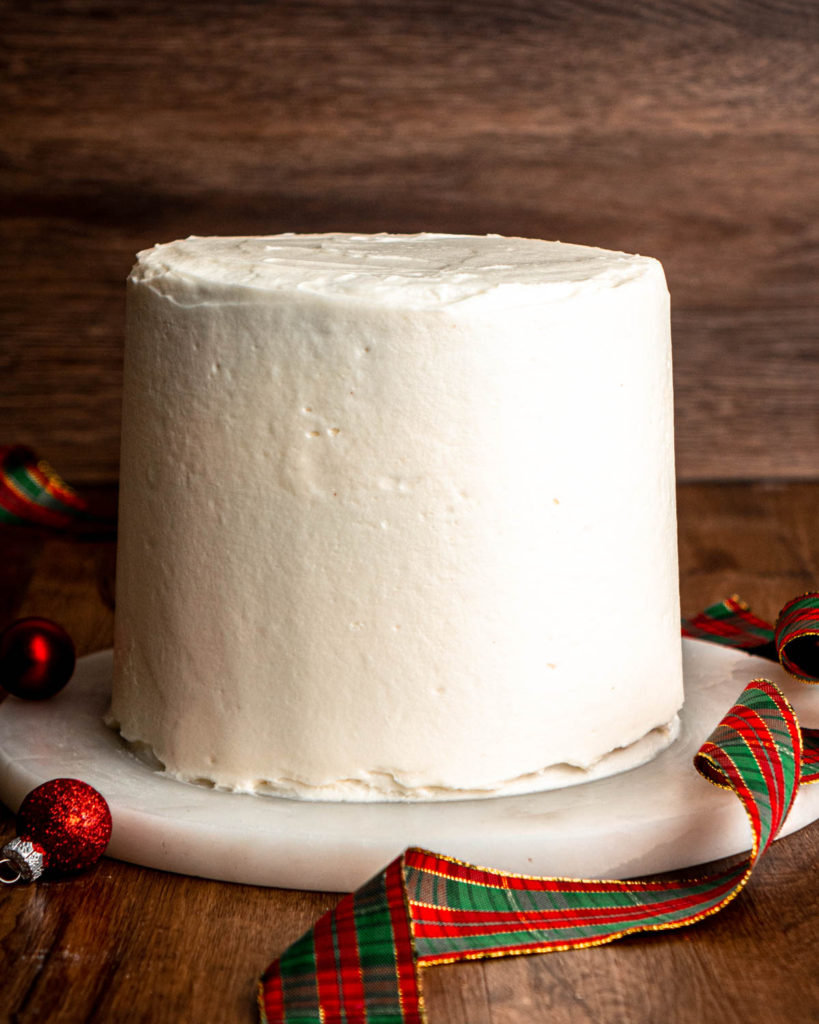
For the Final Frosting Layer
Once the cake has chilled in the fridge, remove it and apply another layer of frosting. Apply generous dollops of frosting on the sides and top of the cake and smooth them out with your offset spatula. Then with your cake scraper even out the frosting, turning the cake turntable as you go, to give you an even coating of frosting. Pop the cake back in the fridge for 20-30 minutes, then repeat the step and add a final layer of frosting.
For the Caramel Drip
You’ll want to add the caramel and the rest of the decorations right before serving the cake. The caramel will continue to drip down the cake and can cause the decorative frosting on top to slide around. It’s best to decorate it and then serve right away!
Transfer the completely cooled caramel to a piping bag with a small opening, or fitted with a small circular tip. Go around the top edges of the cake and squeeze the caramel so it starts to drip down the sides of the cake. A good tip is to space out your drips about every half inch. If at first it doesn’t look like it will be a long enough drip, wait a few minutes. The caramel will continue to drip down the sides of the cake. Also squeeze caramel around the top of the cake and smooth it out slightly with a clean offset spatula. As it sits the caramel will smooth out and come together to form a beautiful finish on top of the cake.
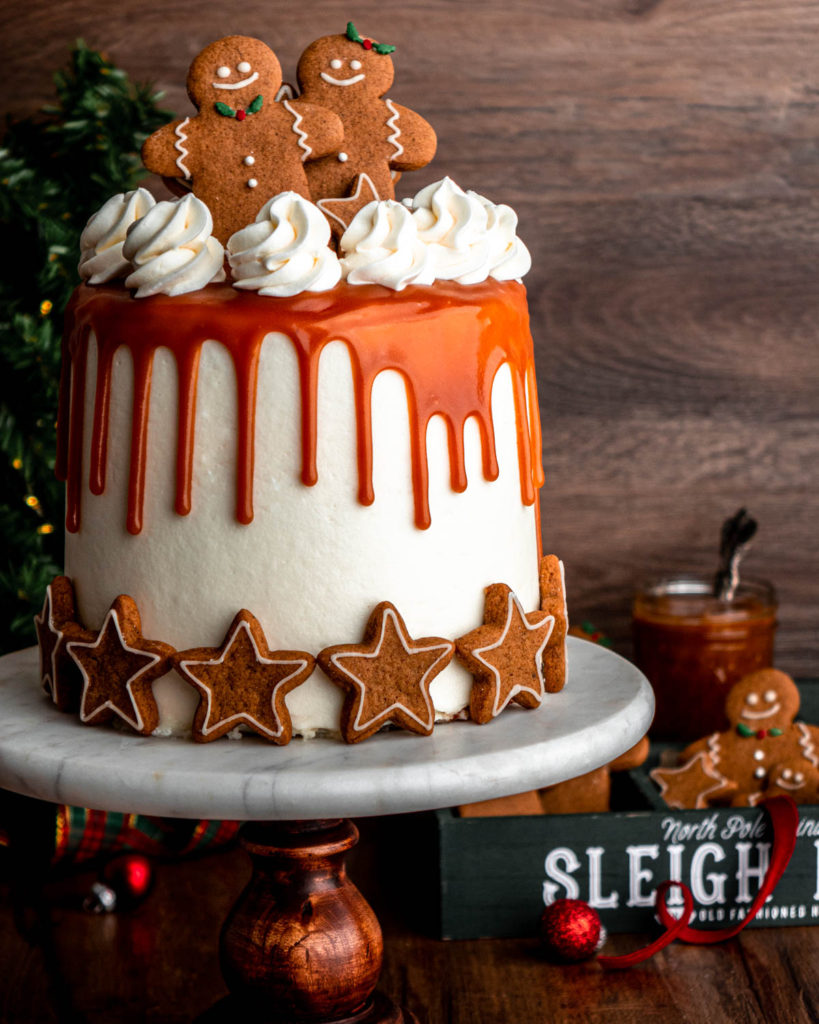
Decorating the Cake
Transfer the remaining frosting to a piping bag fitted with a decorative tip. (My favorite is my Wilton 1M.) Pipe decorative dollops around the top edges of the cake. Then decorate the top of the cake with gingerbread people or whatever else you think would look beautiful! Serve this cake right away. Store left overs in an airtight container in the fridge for up to three days for the freshest, best flavor.
FAQs
Do I have to use homemade salted caramel? No, you can definitely use store bought, I just think homemade tastes so much better.
What recipe is best for gingerbread cookie decorations? Here’s a link to my chewy gingerbread cookies. They are SO yummy!
Can this be made gluten free? I have only tested this recipe with regular all-purpose flour, but if you try it with gluten free flour let me know how it goes!
Can this be made into cupcakes? I have not tried this recipes as cupcakes just yet! Once I have tested it I’ll let you know if it’ll work! (Not all cake recipes are great as cupcakes.)
Pro Tips
Measure your flour properly. This is always my #1 baking tip. Do not ever scoop a measuring cup into your flour. This will always lead to using too much flour. (Trust me, I’ve learned the hard way that I need to measure properly!) Instead sprinkle spoonfuls of flour into your measuring cup and swipe excess flour off with the back of a knife. Or better yet, weigh your flour. 1 cup of flour equals 125 grams.
On troubleshooting the frosting:
- Make sure you really whip the butter until it is pale in color and fluffy, before adding the rest of the ingredients in. This will give you the best, and most fluffy, frosting.
- Make sure your butter is the right temperature, not too cold and not too soft. Usually 30 minutes out of the fridge is just right.
- Make sure your cream cheese is cold. This will help the frosting to have the right consistency.
- Make sure your melted white chocolate is cooled slightly before adding it to the butter/cream cheese. It should be fully liquid still, but about room temperature.
- If your frosting gets too warm while assembling the cake, chill I in the fridge for 10-20 minutes. Whip again with an electric mixer to get it back to the right consistency. This is a soft frosting because of the cream cheese so you may need to chill and rewhip a few times while putting the cake together.
Make sure all your wet ingredients are room temperature. You’ll have the best textured cake when the ingredients are room temperature instead of cold. Cold wet ingredients can make any kind of cake turn out “gummy”.
If you make this cake please leave a star review! Also, tag me on Instagram @inbloombakery_ so I can see! Follow me on Pinterest for other dessert ideas!
Other Recipes to Try:

Gingerbread Layer Cake
Ingredients
For the Salted Caramel Sauce
- 1 cup granulated sugar, 200 g
- 5 tbsp unsalted butter, softened, 70 g
- 1/2 cup heavy cream, at room temperature, 120 ml
- 1 tsp vanilla
- 1/4-1/2 tsp salt (depending on preference)
For the Gingerbread Cake
- 2 1/4 cups all-purpose flour, spooned and leveled (please see notes), 282 g
- 1 1/2 tsp baking powder
- 1/4 tsp baking soda
- 1/2 tsp salt
- 1 tbsp ground ginger
- 1 tbsp ground cinnamon
- 1 tsp ground nutmeg
- 1/2 tsp ground allspice
- 1/4 tsp ground cloves
- 10 tbsp unsalted butter, softened, 140 g
- 1/2 cup light brown sugar, packed, 110 g
- 1/2 cup granulated sugar, 100 g
- 3 eggs, at room temperature
- 1 tsp vanilla
- 1/2 cup unsulphured molasses, 170 g
- 3/4 cup buttermilk, at room temperature, 180 ml
For the White Chocolate Cream Cheese Frosting
- 1 1/4 cups unsalted butter, softened , 280 g
- 6 oz. cream cheese, cold, 170 g
- 4 oz. high quality white chocolate, chopped, 114 g
- 3 cups powdered sugar, 390 g
Instructions
For the Salted Caramel Sauce
- Add granulated white sugar to a large sauce pan and heat it over medium low heat. As the sugar is heating it will crystalize and then eventually all melt down and turn golden in color. When most of the sugar has melted, but there are still a few crystalized clumps, turn the heat down to low so the melted sugar doesn't burn. (Melting all the sugar takes around 20 minutes.)
- Once all the sugar has melted and turned golden in color, add in room temperature butter right away. Stir quickly until the butter is incorporated.
- Then add in room temperature heavy cream and stir quickly again to incorporate everything together. (At this point if you see the butter and cream start to separate from the sugar turn the heat up to medium low and stir vigorously to combine everything together. This can happen if your butter and cream aren't room temperature.)
- Lastly, add in salt and vanilla and stir to combine.
- To make the caramel sauce thicker, let it simmer on low for 3-5 minutes, then remove it from the heat and allow to cool completely before using on the cake.
For the Gingerbread Cake
- Preheat oven to 350 degrees. Spray 3 6-inch cake pans with non-stick spray and line the bottoms with parchment paper rounds. Set aside.
- In a small bowl whisk together flour, baking powder, baking soda, salt, ground ginger, ground cinnamon, ground nutmeg, ground allspice and ground cloves. Set aside.
- Add the butter, brown sugar and granulated white sugar to the bowl of a stand mixer fitted with a paddle attachment (or large bowl if you're using a hand mixer). Cream together for 1-2 minutes.
- Then add in eggs, vanilla and molasses. Mix until smooth, about 1 minute.
- Add the dry ingredients and the buttermilk in a little at a time until all is combined.
- Evenly divide the batter between 3 6" cake pans. (It helps to use a kitchen scale for this.)
- Bake the cakes at for 28-30 minutes, or until a cake tester/toothpick comes out clean from the centers.
- Let the cakes cool in the pans for a two minutes, then transfer them to a cooling rack to finish cooling completely.
For the White Chocolate Cream Cheese Frosting
- Melt the chopped white chocolate and set aside to cool slightly.
- Add the softened, unsalted butter to the bowl of a stand mixer fitted with a wisk attachment (or large bowl if using a hand mixer.) Whip the butter until it is very pale in color and fluffy, about 5 minutes.
- Add in the cold cream cheese and mix until combined.
- Then add in the slightly cooled white chocolate. It should be liquid still and almost room temperature. Mix until fluffy again. (If it's too warm the white chocolate can melt the butter, and if you wait until it's too cooled, it can solidify when you mix it into the butter. You'll want to add it when it's just about room temperature.)
- Then sift in the powdered sugar a cup at a time. Mix until light and fluffy, 1-2 minutes.
Assembling the Cake
- GETTING PERFECTLY SIZED CAKE LAYERSThe cakes should not dome very much while baking, but if they do and cannot be easily evenly stacked, simply cut the top part off of each cake with a sharp knife. Freezing the layers for 30 minutes-1 hour each before attempting to cut the domes off, helps to get clean cuts. (Wrap each layer tightly in plastic wrap before freezing to keep them fresh.)
- FILLING THE CAKE LAYERSSee tips in the notes on trouble shooting frosting while assembling the cake.Then place a dollop of white chocolate cream cheese frosting in the center of your cake turntable. Place the first cake layer over it. Then add a generous amount of frosting on top of the cake layer and even it out with your offset spatula, turning the cake turntable as you go. Place the next layer over top and repeat the step. Then place the final layer over the top. Add some the frosting to a piping bag with a large opening, or fitted with a large circular tip. Pipe frosting into the "holes" between each cake layer. Then with your cake scraper, scrape the icing across the cake, turning the cake turntable as you go to make this as easy as possible. This is meant to just get everything even before applying the crumb layer. At this point consider inserting plastic drinking straws into the cake to keep it from leaning in a certain direction. Pop the cake in the fridge for 20-30 minutes to allow the inside frosting layers to firm up a bit. (This will make applying the crumb layer easier.)
- CREATING THE CRUMB LAYERWith your offset spatula place dollops of frosting on the outsides and top of the cake. Even out the frosting as much as possible with your spatula. Then with your cake scraper, scrape the icing evenly across the cake, turning the cake turntable as you go to make this as easy as possible. This layer of frosting should be thin. This is called the ‘crumb layer’ and will ensure that the cake’s final coating of frosting is smooth and free of crumbs. Then place the cake in the fridge to chill for 20-30 minutes.
- FOR THE FINAL FROSTING LAYEROnce the cake has chilled in the fridge, remove it and apply another layer of frosting. Apply generous dollops of frosting on the sides and top of the cake and smooth them out with your offset spatula. Then with your cake scraper even out the frosting, turning the cake turntable as you go, to give you an even coating of frosting. Pop the cake back in the fridge for 20-30 minutes, then repeat the step and add a final layer of frosting.
- FOR THE CARAMEL DRIPYou'll want to add the caramel and the rest of the decorations right before serving the cake. The caramel will continue to drip down the cake and can cause the decorative frosting on top to slide around. It's best to decorate it and then serve right away! Transfer the completely cooled caramel to a piping bag with a small opening, or fitted with a small circular tip. Go around the top edges of the cake and squeeze the caramel so it starts to drip down the sides of the cake. A good tip is to space out your drips about every half inch. If at first it doesn’t look like it will be a long enough drip, wait a few minutes. The caramel will continue to drip down the sides of the cake. Also squeeze caramel around the top of the cake and smooth it out slightly with a clean offset spatula. As it sits the caramel will smooth out and come together to form a beautiful finish on top of the cake.
- DECORATING THE CAKETransfer the remaining frosting to a piping bag fitted with a decorative tip. (My favorite is my Wilton 1M.) Pipe decorative dollops around the top edges of the cake. Then decorate the top of the cake with gingerbread people or whatever else you think would look beautiful! Serve this cake right away. Store left overs in an airtight container in the fridge for up to three days for the freshest, best flavor.
Notes
- an offset spatula
- a sharp knife
- an icing piping bag fitted with a small circular tip
- an icing piping bag fitted with a large star tip (Wilton 1M is my favorite)
- an icing bag with a large opening or fitted with a large circular tip
- Make sure you really whip the butter until it is pale in color and fluffy, before adding the rest of the ingredients in. This will give you the best, and most fluffy, frosting.
- Make sure your butter is the right temperature, not too cold and not too soft. Usually 30 minutes out of the fridge is just right.
- Make sure your cream cheese is cold. This will help the frosting to have the right consistency.
- Make sure your melted white chocolate is cooled slightly before adding it to the butter/cream cheese. It should be fully liquid still, but about room temperature.
- If your frosting gets too warm while assembling the cake, chill I in the fridge for 10-20 minutes. Whip again with an electric mixer to get it back to the right consistency. This is a soft frosting because of the cream cheese so you may need to chill and rewhip a few times while putting the cake together.

I halved this recipe, skipped the caramel drizzle, and baked it in one layer in an 8×8 pan. The cake was moist and had delicious gingerbread flavor. I was afraid the frosting would be too sweet, but it was absolutely perfect! Light and fluffy! My whole family loved this cake
Hello, thank you very much for sharing your recipes.
I have a query: within the post, it indicates that it is recommended to consume this cake at once. Both caramel drip and cookies to be placed at the time of serving. But if I want to make it to sell, can I have it ready the day before delivery?
I Jacqueline! I would recommend decorating right before serving as indicated. Otherwise the frosting piped on top could shift on the caramel and the little cookies could get soggy.
Thank you so much for this beautiful recipe Mrs Bloom Ginny. Could you pipe your frosting on me; my cookies also get wet but never soggy. My frosting never shifts on my caramel
‘And as for fortune, and as for fame, the truth is I never invited them in’ – Andrew Woyd-Lebber
Best gingerbread cake I’ve ever made hands down.
Hello Ginny 🙂
Question: what is the height and diameter of this decorated cake?
Do you have the recipe for the gingerbread cookies that are decorating the cake?
🙂
This was my holiday cake this year. I was so happy with how wonderful it turned out and how much my family loved it. So delicious! The flavors all came so nicely together with the homemade caramel sauce. Leftovers tasted even better the next day. Just an awesome cake!
I’m bringing this to a work potluck and can’t add the caramel drizzle at the time of serving. Could I possibly add it between the layers instead?
Wanted to love this, but it was much too dense for me. It had great gingerbread flavor but was just too heavy of a cake for me.
I love this recipe.. moist & flavorful! I’d like to know how to make the gingerbread have more of a kick/spicier gingerbread.
Also, how can I alter the recipe for an 8 inch 3 layer cake?
I love this recipe & will try making the gingerbread cookies next!
I loved this recipe. The spices were perfect and it went down a treat for Boxing Day with the fam. This is the first time I’ve made cream cheese frosting this way and it has worked well enough for me to pipe it; usually it is too runny so this is perfect. I didn’t do the caramel drip but I think that would work really well with this cake. Definitely a recipe I will be returning to.
Wow! What beautiful colours! I can even feel the smell. I’m eager to give it a try. I’ll bake it in two 8-inch pans. I’ll keep you informed. 🙂
Thanks for sharing this amazing recipe!
Regards from the Canaries, Spain.